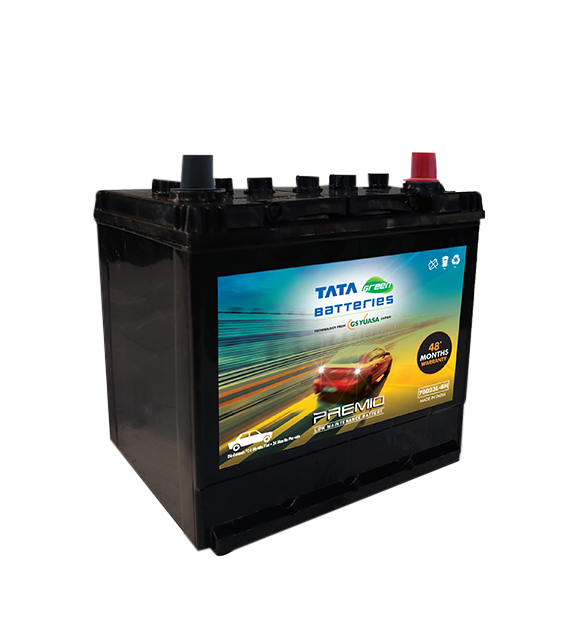
4 Wheeler Batteries don’t last forever. Every automotive battery has a designated life after which it needs to be replaced. Changing a car battery is no rocket science, and you can easily do it yourself, especially if you are not in the mood to spend any extra money. Here’s a DIY guide, that will help you to know how to change a car battery.
Why Car Batteries Need Replacing
Before we discuss the steps to install a car battery, it’s important to understand why batteries wear out. Typically, car batteries like Tata green batteries last up to 3-5 years, although the lifespan depends upon different factors. Driving habits, long periods of inactivity, extreme weather conditions, and poor maintenance can shorten the car battery life.
How To Change Car Battery at Home
Before understanding the steps to change the car battery, understand that car batteries are inflammable, and you would need to take proper safety precautions.
Safety First: Precautions Before You Start
Most car batteries contain acid and are located near the engine, which also has other liquids flowing around it. We highly recommend taking these precautions before starting the battery installation process.
- Wear Protective Gear: Protective glasses, gloves, and protective clothing to ensure you are not in contact with any material.
- Remove Any Jewellery: Before attempting to work near the engine, you should also remove any rings or metal jewellery you might be wearing.
- Check Your Car Location: While changing the battery, park your car away from traffic on a flat surface and away from any flammable material. Also, the 4-wheeler engine must be completely turned off with the handbrake on.
Steps to Install a Car Battery
Now that you’ve got your tools and safety gear ready let’s begin the step-by-step guide to installing your car battery.
-
Loosen The Battery Bracket
With the engine off, pop the hood and find the battery. The next step is to loosen rusty nuts, bolts and screws and remove the bracket that holds the car battery in place. Avoid using a screwdriver as a pry-bar; this could break off your battery terminal or cause other damage.
-
Disconnect The Cables
The two terminals of the battery have to be separated from the cables attached to them, which need to be moved aside before removing the battery from the car. You can use an adjustable wrench to loosen the bolt and remove the black(negative) cable first, followed by the same for the red (positive) cable.
-
Clean The Tray
The battery tray should be cleaned with a mixture of baking soda and water to remove rust or other chemicals in the car, and eventually wiped off with a dry cloth.
-
Install The New Battery
Place the new battery in the car in the same location as the earlier one. Secure the battery in the bracket that holds it in place.
-
Reconnect the Battery Cables
Connect the positive(red) cable first and tighten it before doing the same for the negative (black) one. Double-check the connections to ensure they are snug but don’t over-tighten, as this could damage the terminals.
-
Start the Car
Once everything is connected, give your car a test start. If you’ve followed the steps correctly, your car should start up smoothly. Congratulations! You’ve just learned how to change a car battery at home.
How Do You Know If Your Car Battery Needs Replacement?
Now that you know the battery installation procedure, you may be wondering “how to know if your car battery needs to be replaced”. Look for common signs such as a slow engine crank, dim headlights and, of course, your dashboard warning light. In case you are still confused whether or not your car battery needs replacement, check with your nearest trusted Tata Green battery dealer for expert guidance.
Tips for Maintaining Your New Battery
Just knowing how to replace a car battery, will not suffice. You must know the ways to maintain it to ensure it lasts its full lifespan. Here are a few tips:
- Regular Cleaning: Periodically check for corrosion around the terminals and clean them to ensure a solid connection.
- Avoid Draining the Battery: Turn off headlights, interior lights, and electronics when the engine is off to prevent unnecessary drainage.
- Run Your Car Regularly: Another important point is to keep running your car frequently and not keep it inactive for long periods.
Choosing the Right Battery for Your Vehicle
Not all car batteries are created equal, and choosing the right one is crucial for your vehicle’s performance. Factors such as voltage, size, and climate suitability play a role. If you’re unsure which battery is right for your car, TATA Green Batteries offers a wide selection of reliable options with long warranties and hassle-free replacement.
Final Thoughts
Installing a new battery at home can seem daunting, but with the right steps and precautions, it’s an entirely doable task. Now that you know how to change a car battery at home, you can save yourself a trip to the mechanic and avoid extra labour costs. Plus, having the skill to change your own battery can come in handy during an emergency.
If you’re unsure or want professional guidance, consider exploring TATA Green Batteries for trusted products and services. From high-quality battery options to expert advice, we’ve got you covered.


